Most people who call us about a suspected slab leak have never had one before, and the not knowing is often worse than the repair itself. If you already know you need slab leak repair, here is exactly what the process looks like from the first call to the finished patch, so there are no surprises in between.
Step one: confirming it is actually a slab leak
Not every warm floor spot or water bill spike turns out to be a slab leak. Before anything else, we do a visual and pressure check to confirm there is an active leak and get a rough sense of where it is. This step alone rules out a handful of other causes, a failing water heater, a running toilet, an irrigation line issue, that get mistaken for slab leaks fairly often.
Step two: real detection, not guessing
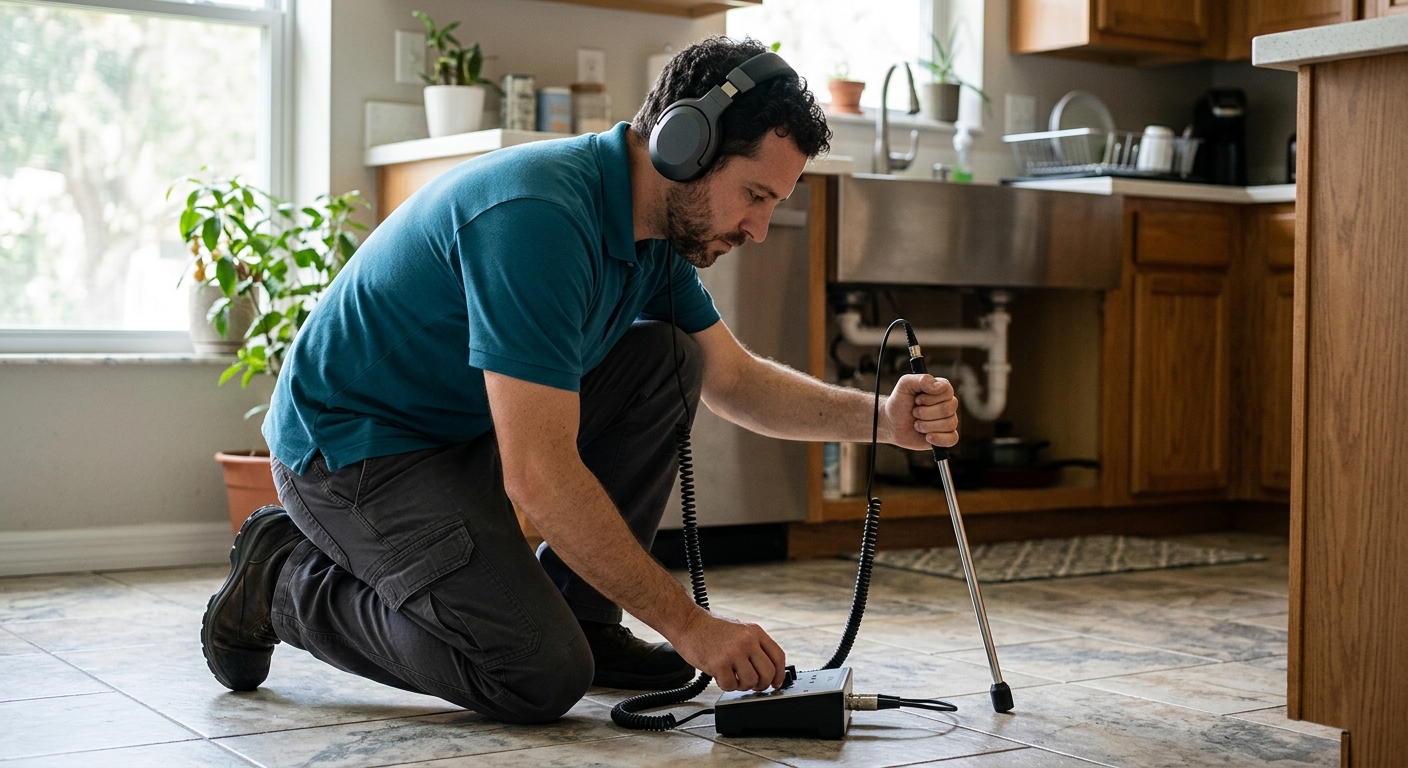
Once we have confirmed an active leak, we use acoustic listening equipment that picks up the specific sound of pressurized water escaping under concrete, combined with thermal imaging that spots the temperature difference a leak creates on the surface above it. Between the two methods, we can usually narrow the leak to within a foot or two in a single visit. This step matters because it is the difference between cutting a small, targeted section of slab and tearing up a much bigger area on a guess.
Step three: the decision point, spot repair or reroute
With the leak pinpointed, we walk you through two honest options rather than pushing one. A spot repair means cutting a small section of slab, accessing the damaged pipe, and repairing or replacing that segment. It is the faster, less expensive option and makes sense for an isolated leak in a home with otherwise sound plumbing.
A reroute means running new line above the slab, through the attic and down through interior walls, to bypass the damaged section entirely rather than repairing it in place. This makes more sense when the rest of the home’s plumbing is the same age and material as the failed section, especially original 1960s and 70s copper or 1978 to 1995 polybutylene, because a spot repair in that situation often just buys a few years before the next leak shows up somewhere else in the same aging system.
Step four: the repair itself
For a spot repair, we mark the targeted area, cut the smallest section of concrete that gives us real access, remove or repair the damaged pipe segment, and pressure-test the new connection before closing anything up. Once the repair passes pressure testing, we pour the patch. That patch typically needs 24 to 48 hours before flooring goes back down over it, which is worth planning around if the leak is under tile, wood, or another finish material.
For a reroute, the work looks different. We run new PEX or copper line through the attic space and down through interior walls to reach the fixtures that were served by the old line, then cap or abandon the damaged section under the slab in place rather than removing it. No concrete gets cut, which means no curing time, but the work itself typically takes longer, often a full day or two depending on the home’s layout.
Step five: what happens after the repair
We test water pressure throughout the home to confirm the fix resolved the original symptom, whether that was a pressure drop, a water bill spike, or a warm floor spot. If the job involved a patch, we walk you through the drying timeline before flooring or carpet goes back down. If your slab leak turned out to be tied to hard water corrosion or aging pipe throughout the home, we will tell you honestly whether that is likely to happen again elsewhere in the system, rather than letting you assume one repair means you are done for good.
Why detection changes the whole process
Homeowners sometimes ask why we do not just cut open the general area where the floor feels warm and go from there. The answer is that a warm spot can be misleading. Heat and moisture travel through concrete and soil, so the warmest point on the surface is not always directly above the leak itself. Cutting based on feel alone risks opening the wrong section, missing the actual pipe, and having to cut again, which costs more time and more finish repair than doing detection properly the first time.
Acoustic and thermal detection together solve that problem by confirming the leak’s real location before anyone touches a saw. It is a small extra step at the start that consistently saves money and disruption by the end of the job, which is why we treat it as a required first step rather than an optional add-on.
How long does slab leak repair actually take?
A straightforward spot repair usually takes one day, with an additional 24 to 48 hours for the concrete patch to cure before flooring goes back down. A reroute typically takes one to two days but needs no curing time since no concrete is cut.
Do I need to be home during the repair?
You do not need to be present for the entire job, but we recommend being there for the initial walkthrough so you can see exactly where the leak was found and understand the repair plan before work starts.
Will the repair area match the rest of my floor?
For a spot repair, we patch the concrete itself, but matching tile, hardwood, or other finish flooring on top of that patch is typically a separate step, either handled by you, your contractor, or coordinated through us depending on the job.
Can a slab leak come back after repair?
A properly executed spot repair on an isolated leak rarely recurs at the same spot. What can happen is a new leak developing elsewhere in aging pipe, which is exactly why we are upfront about reroute options when a home’s plumbing age and history suggest the first leak was not likely to be the last.
Call before you guess
If you are staring at a warm spot on the floor or a water bill that will not explain itself, do not wait to see if it gets worse. Call Tampa Plumbing Pro at (813) 590-0625, and we will walk you through detection and repair step by step, with real pricing before any concrete gets cut. See our full slab leak repair page for current pricing on both spot repair and reroute options.